How to Install VirtualBox Virtualization Software
VirtualBox from Oracle is a very easy and simple virtualization software solution for your desktop machines. It supports most of the desktop operating system flavors of Windows, Linux and MAC, with CPUs preferably having virtualization extensions, and atleast 1GB of free RAM and 10GB of disk space.
You may follow the steps below if you want to install VirtualBox on your desktop.
I chose Windows 7 for deploying VirtualBox in this example
VirtualBox Installation
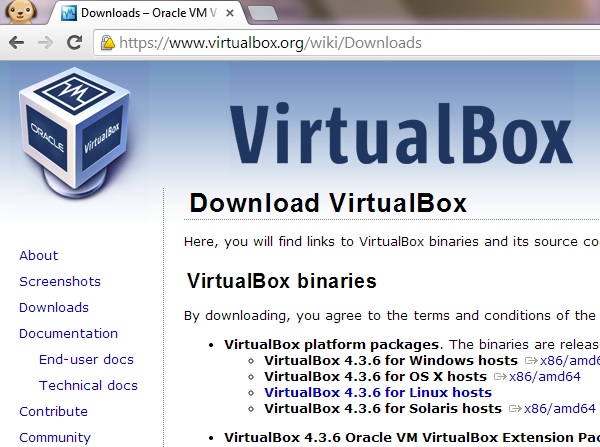
Download VirtualBox. You can download the latest version of the VirtualBox from the VirtualBox.org site, follow the download link;
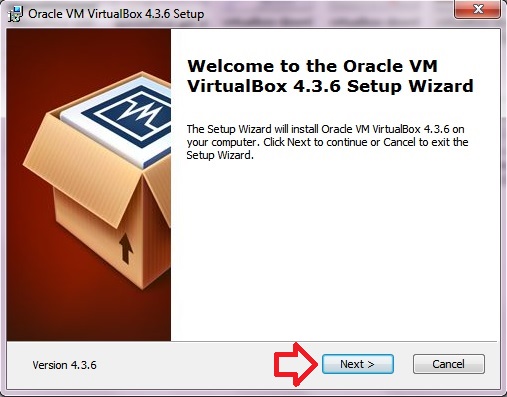
Once the download is finished, double click the VirtualBox setup for installation. (Remember you need to have administrative privileges for installing VirtualBox on your machine).
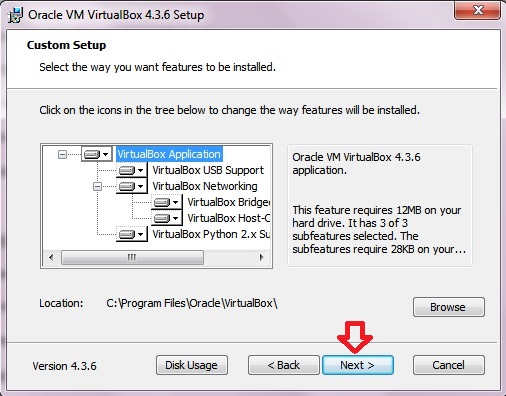
Click Next for selecting the packages needed for installation from VirtualBox setup.
Select or deselect the packages as per your requirements, if you are not sure what to do here, then leave the default selections untouched, and press Next to move on to next step.
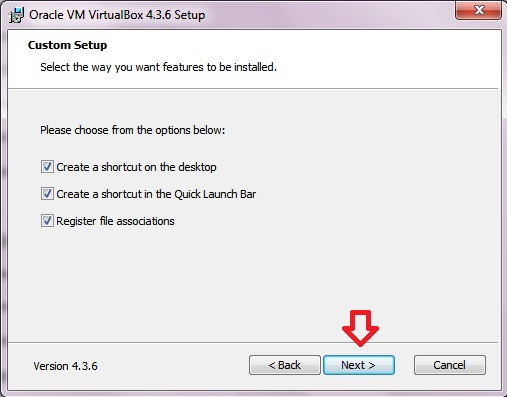
Select the shortcut installation options and file association options, and press Next.
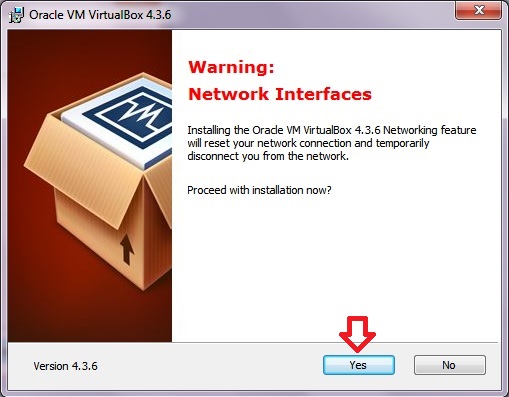
The next wizard window will ask for installation of virtual network interfaces, press Yes for that, this would close all the active network connections.
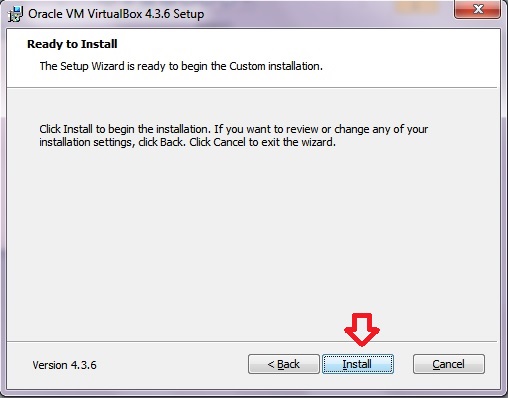
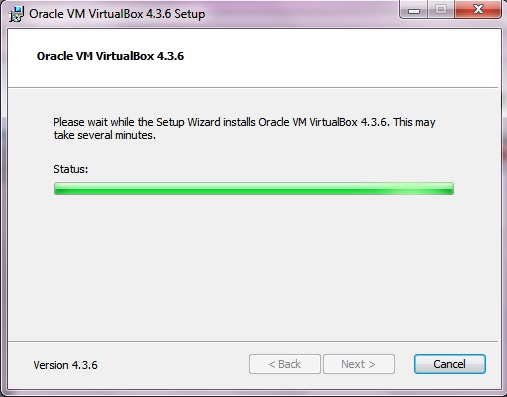
Then in the next window click Install to start installation.
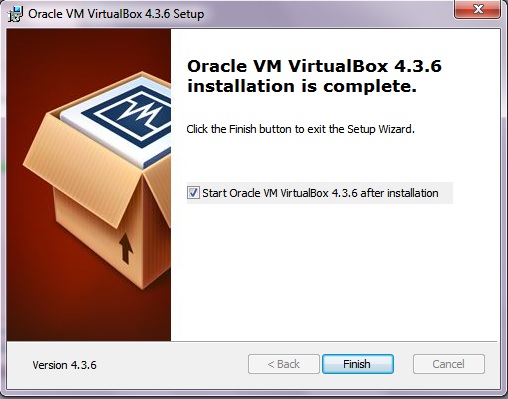
Once the installation is finished press the finish button in the installation wizard window.
Installing VirtualBox Extension Pack
This provides more features like USB2.0, Virtual RDP and PXE boot for intel cards. Download the VirtualBox extension pack with the VirtualBox download link.
Choose the same version of extension pack as your VirtualBox software.
Double click the install package to start the setup, the setup would ask your confirmation for install. Click Install.
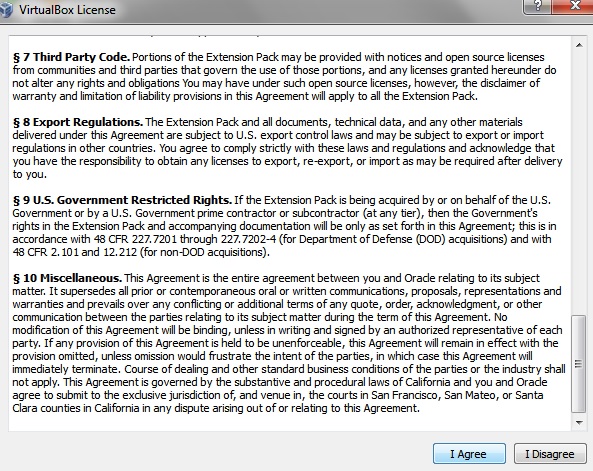
Then go through license agreements, and click ‘I Agree’ if you agree with that!.
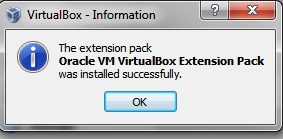
Now the virtual box extension pack is installed!.
